Project Overview
View and manage all resources in your project.
Opening
- File > Project Overview
- Search "Project Overview" in the command palette
Editing the Project Name
Click the project name at the top to enter edit mode. Press Enter or move focus away to save, Escape to cancel.
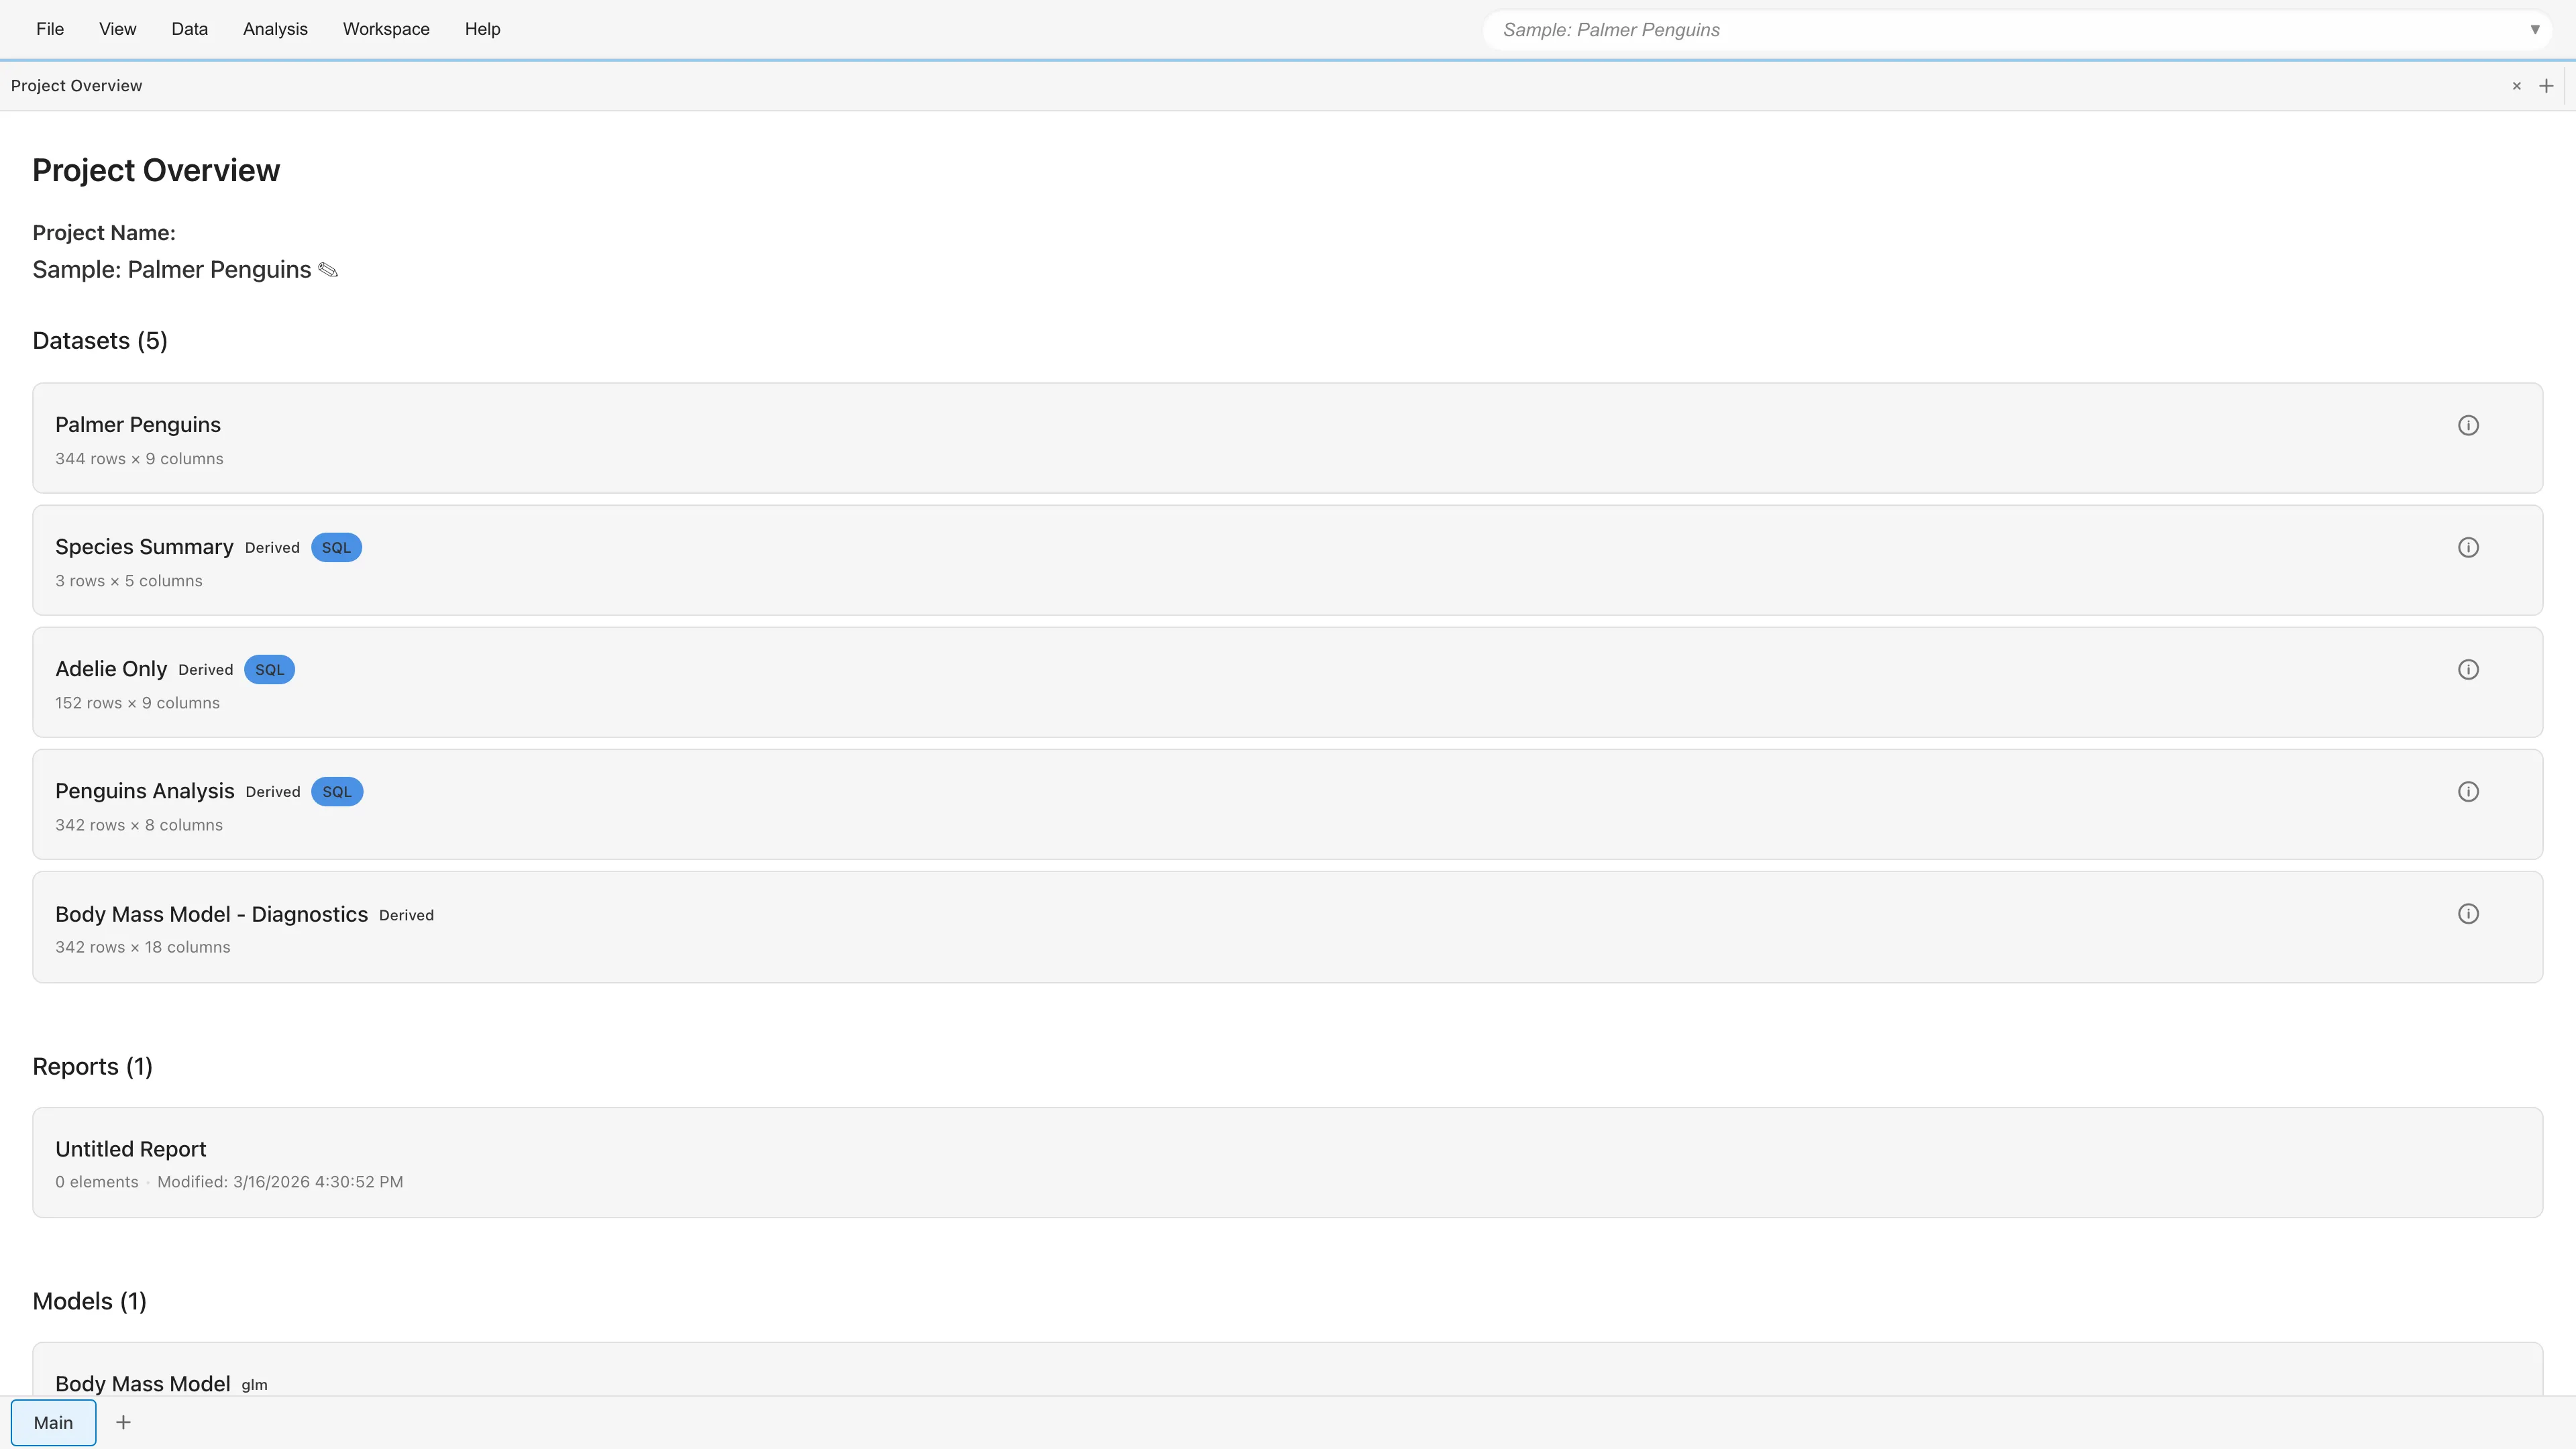
Datasets
Primary Datasets (imported from CSV/TSV) and Derived Datasets (generated by transformations) are listed (see Datasets for details). Each dataset has an info button (ⓘ) and a menu button (⋮) on the right side.
Click the info button (ⓘ) to view name, type, row count, column count, and other metadata.
The menu button (⋮) provides the following actions:
| Action | Description | Applies to |
|---|---|---|
| Rename | Change the dataset name | All datasets |
| Delete | Delete the dataset (dependent resources are also deleted; see Datasets for details) | All datasets |
| Reload Dataset... | Reload data from the original file or URL | Primary only |
| Edit Operation... | Edit the transformation. Currently only SQL Query datasets are editable; for other types this item is disabled with a tooltip explaining why | Derived only |
Derived Dataset details
- Operation badge - Shown next to the dataset name, indicating the transformation that created the dataset, such as SQL, Crosstab, or Filter
- Save data with project (Materialized View) checkbox in the menu - When enabled, the data is saved in the project file. Datasets created by transformations that cannot be re-computed always have this enabled, and it cannot be turned off. See Datasets for details
Reports
Lists all reports in the project. Each report shows its element count (number of embedded graphs and statistical tables) and last updated date. Click a report name to open it in a tab. Click the delete button (x) on a report to delete it (confirmation dialog is shown).
Models
Lists saved models (Linear Regression, GLM, GLMM, Random Forest, ARIMA, ANOVA). Click a model name to open its detail tab. Metadata (type, predictors, response) is shown for each model. Click the delete button (x) on a model to delete it (confirmation dialog is shown).
See also
- Datasets - Dataset types and management
- Project Management - Overview of project management features
- Project Lineage - Visualize dependencies
- Compare Project - Compare project versions
- Reports - Saving graphs and statistical results together
Also available as a Markdown file.